
Automotive generator bearings are one of the key components for the normal operation of the generator, responsible for driving the generator rotor and generating electricity. In daily use, due to factors such as friction, vibration, and temperature changes, generator bearings may wear or fail, causing the generator to fail to operate normally. Therefore, regular inspection and timely replacement of generator bearings are crucial for ensuring the normal operation of the automotive electrical system. The following will detail the replacement steps and relevant safety precautions for automotive generator bearings.
Replacement Steps of Automotive Generator Bearings
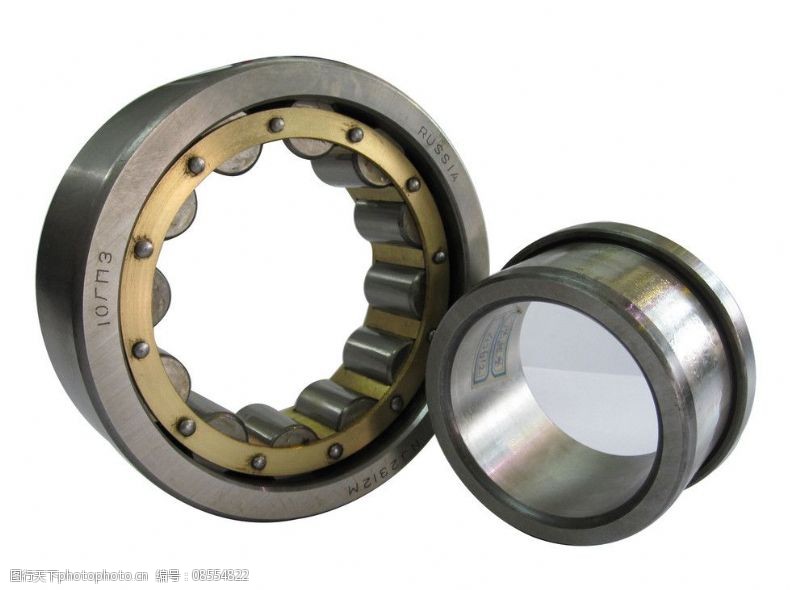 repare tools and materials: Replacing the generator bearing requires some special tools and materials, including new bearings, bearing seats, removal tools (such as a hexagon wrench, sleeve), lubricant, protective gloves, etc.
Safety Protection: Before replacing the generator bearing, ensure that the vehicle is in a safe state, turn off the engine and pull up the handbrake to ensure that the vehicle will not move. Wear protective gloves to prevent mechanical injuries.
Remove the old bearing: First, it is necessary to remove the old generator. This usually involves removing the generator bracket, generator fastening screws, and the connecting parts between the generator and the crankshaft. Pay attention to protect the internal parts during disassembly to avoid damage.
Cleaning and Lubrication: After removing the old bearing, it is necessary to clean the bearing seat hole and the new bearing to ensure that the surface is clean and free of impurities. As needed, apply an appropriate amount of lubricant to facilitate the installation of the new bearing and its subsequent use.
Install the new bearing: Properly install the new bearing into the generator bearing seat hole. Pay attention to check whether the rotation direction of the bearing is correct to ensure that the generator can generate electricity normally. Use appropriate tools during the installation process to ensure that the bearing can be installed smoothly.
Reassembly: After completing the bearing installation, reassemble the generator bracket, generator fastening screws, and other components in the reverse order of disassembly. Ensure that all components are properly installed and there is no loose or damaged parts.
Inspection and Testing: After reassembling the generator, start the engine for testing to check if the generator is operating normally. If there are any abnormalities, further inspection and repair are required.
 afety Precautions
During the disassembly and installation process, be careful in operation to avoid mechanical injuries.
When replacing the bearing, ensure that the environment is clean to prevent dust from entering the internal part of the bearing.
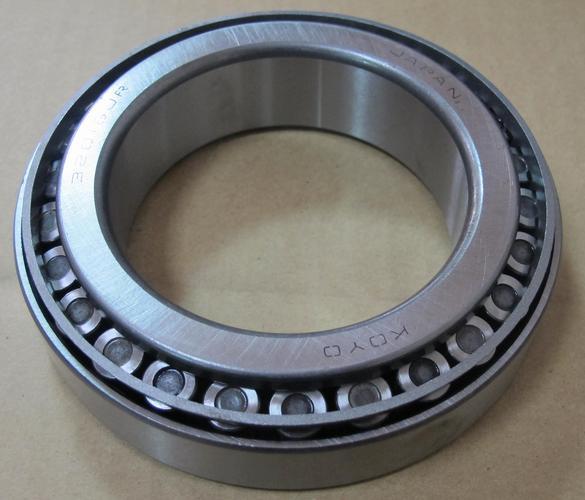 Choose the appropriate lubricant and avoid using unsuitable lubricants that may damage the bearing.
During installation, ensure that the bearing is installed correctly and in the right direction, to avoid the generator from failing to operate normally due to improper installation.
After replacing the bearing, it is advisable to conduct a professional inspection and test to ensure that the generator can operate normally.
Replacing the generator bearing is a technically demanding task; it is recommended for non-specialists to seek the assistance of professional technicians to ensure the safety and effectiveness of the operation.